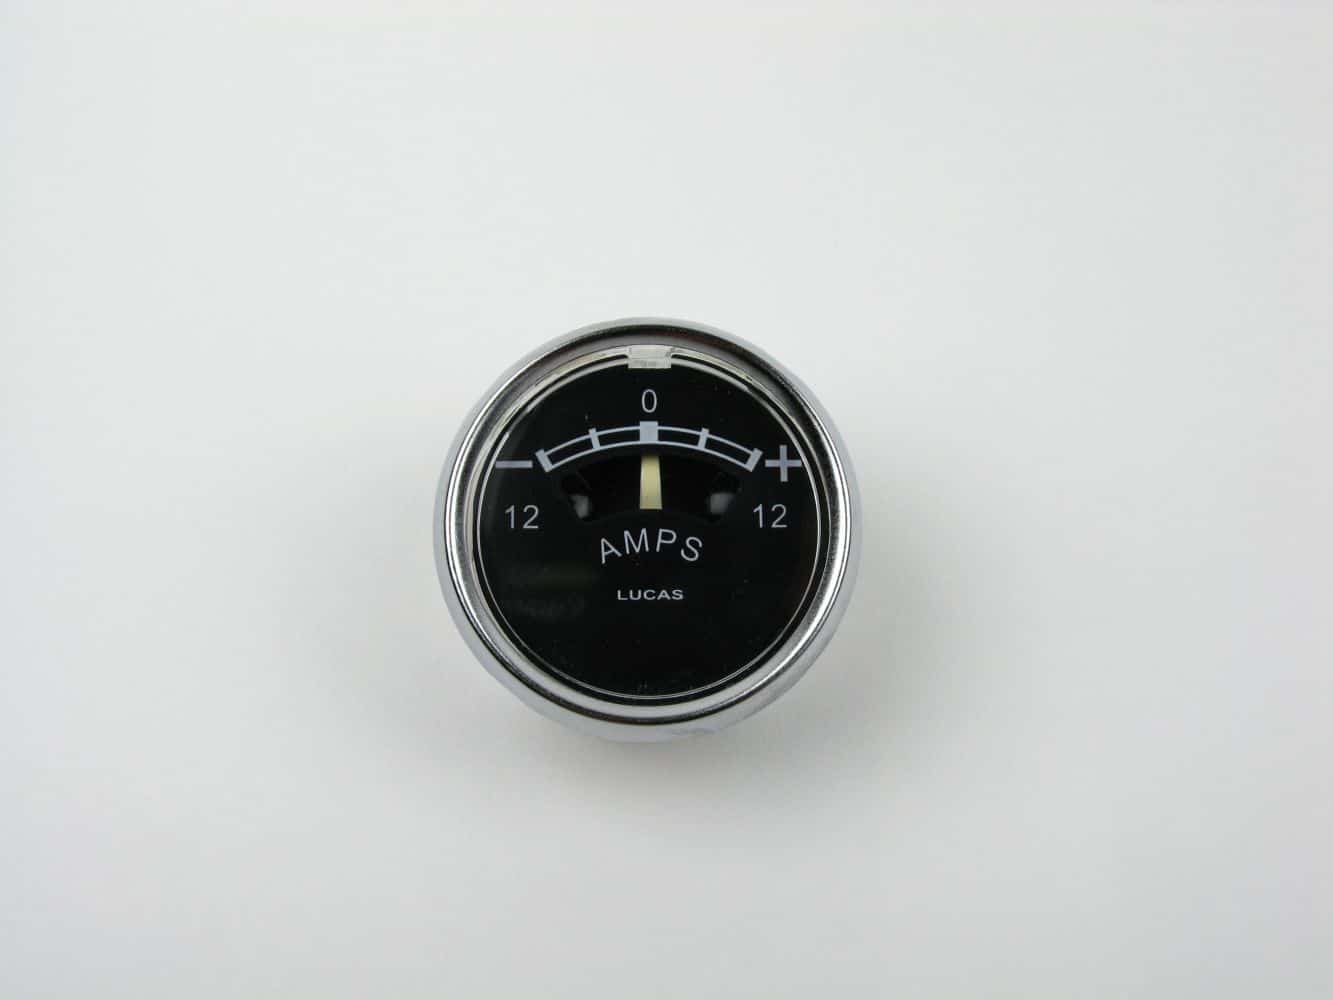
Lucas type ammeter installation instructions
Click here to download install PDF
Lucas type ammeter installation instructions
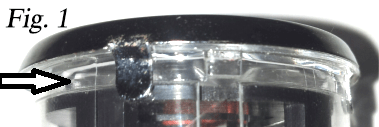
Lucas offered a number of different type ammeters over the years. This deals with the last style fitted to many British models before they were discontinued in 1972. The finial variant incorporated a few changes designed to eliminate issues with previous versions. One issue had been the failure of the tangs that retained the ammeter in the headlamp shell due to the lack of support at the tang where they lined up with the reliefs in the headlamp shell. To solve this issue Lucas designed a cam effect fastener that allowed more complete engagement of the retaining tangs. These ammeters had a cam effect retaining system cast into the plastic bodies identified by a recess around the body just under the bezel. (Fig. 1)
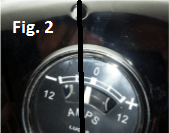
When installing this type ammeter it will be found that the tangs on the ammeter when inserted through the headlamp shell position the ammeter face about 35 degrees off center (Fig. 2)
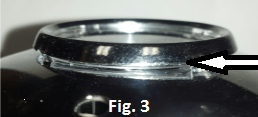
To install insert the ammeter through the hole and allow the unit to float a bit (Fig. 3)
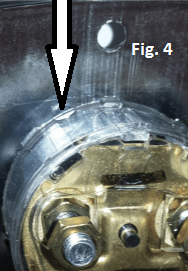
Gently rotate the ammeter counter clockwise. Do not force it, if there is resistance try increasing the gap between the shell and the ammeter bezel. The ammeter will turn easily and the cam effect will draw it down until it locks in place in the correct position. It will be seen that the tabs that retain the unit now have substantially more bite on the headlamp shell than if they were reaching across the groove that they entered the shell through. (Fig.4)
Now bend the tabs over to complete the installation.
HOW A LUCAS AMMETER IS ASSEMBLED
Fig. 2
Fig. 3
Fig. 4